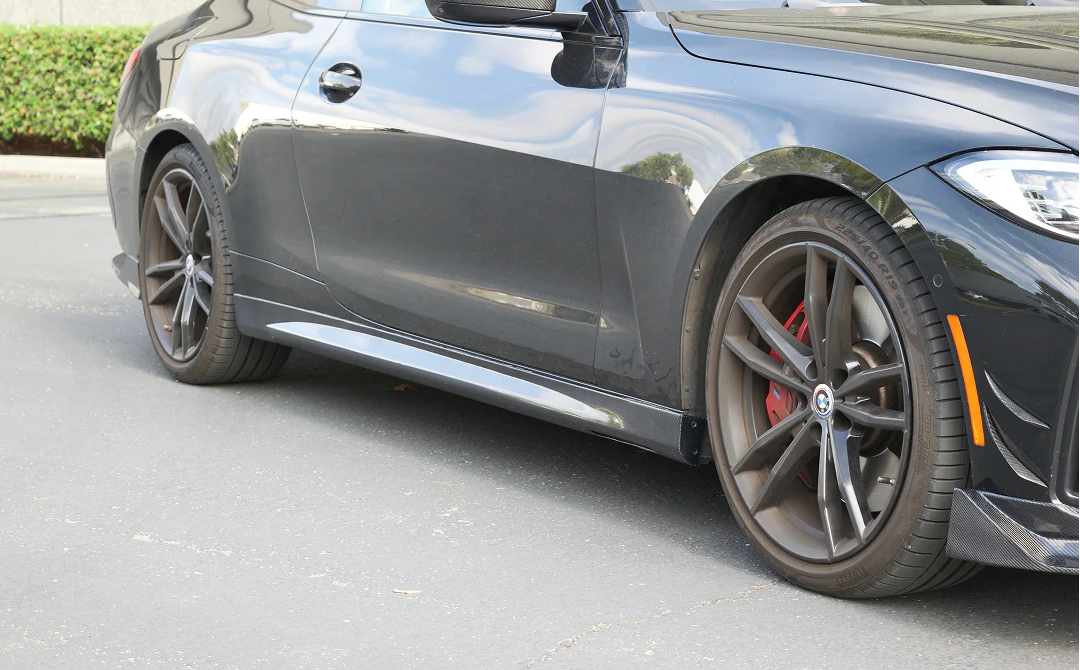
This installation guide will walk you through the safe and proper installation process. Before you begin, please read through all steps carefully to ensure a smooth experience. If you encounter any difficulties, don’t hesitate to contact our support team. We’ll be happy to assist you.
Tip: For best results and added safety, we recommend 2 people to install.
Installation Steps:
1. Getting ready with tools
- Scissors
- 1-inch Wide 3M Tape
2. To assemble the Front Lip (if 3-piece design), use the provided screws to securely connect all three sections of the lip.
3. Locate and unclip the two self-tapping clips underneath the bumper. These will later be reinstalled through both the bumper and the front lip to ensure a flush, secure fit.
4. To test fit the front splitter, hold the assembled lip against the bumper to check alignment and screw placement before final installation.
5. Once alignment is confirmed, apply strips of 3M tape along the contact points for added stability.
6. Wipe down the bumper installation area with rubbing alcohol or a mild cleaner using a microfiber cloth to ensure proper adhesion.
7. Once assembly is complete, you’re ready to install the front splitter. With the help of one or two people, carefully hold the lip in position and align it against the bumper.
8. Insert the screws evenly through the designated holes into the bumper using a drill or screwdriver. Make sure to space them consistently to provide balanced support across the front lip.
9. Reinsert the two clips removed earlier, ensuring they pass through both the bumper and the lip for a flush, secure fit.
10. Firmly press along all 3M taped areas to secure the lip to the bumper.
11. Final Inspection
- Confirm that the front lip sits flush and securely against the bumper.
- Press firmly along all taped areas to maximize adhesion.
- Check that all screws are tight, but avoid over-tightening to prevent damage.
Note: For added stability, we recommend drilling 2 screws through the front splitter into the bumper.
Post-Installation Guidelines
- Avoid washing the car or driving at high speeds for 24 hours to allow the adhesive to fully cure.
- Periodically inspect the screws and taped areas to ensure the front lip remains secure over time.


